
Click a photo in the mural to learn more, or view the list below.
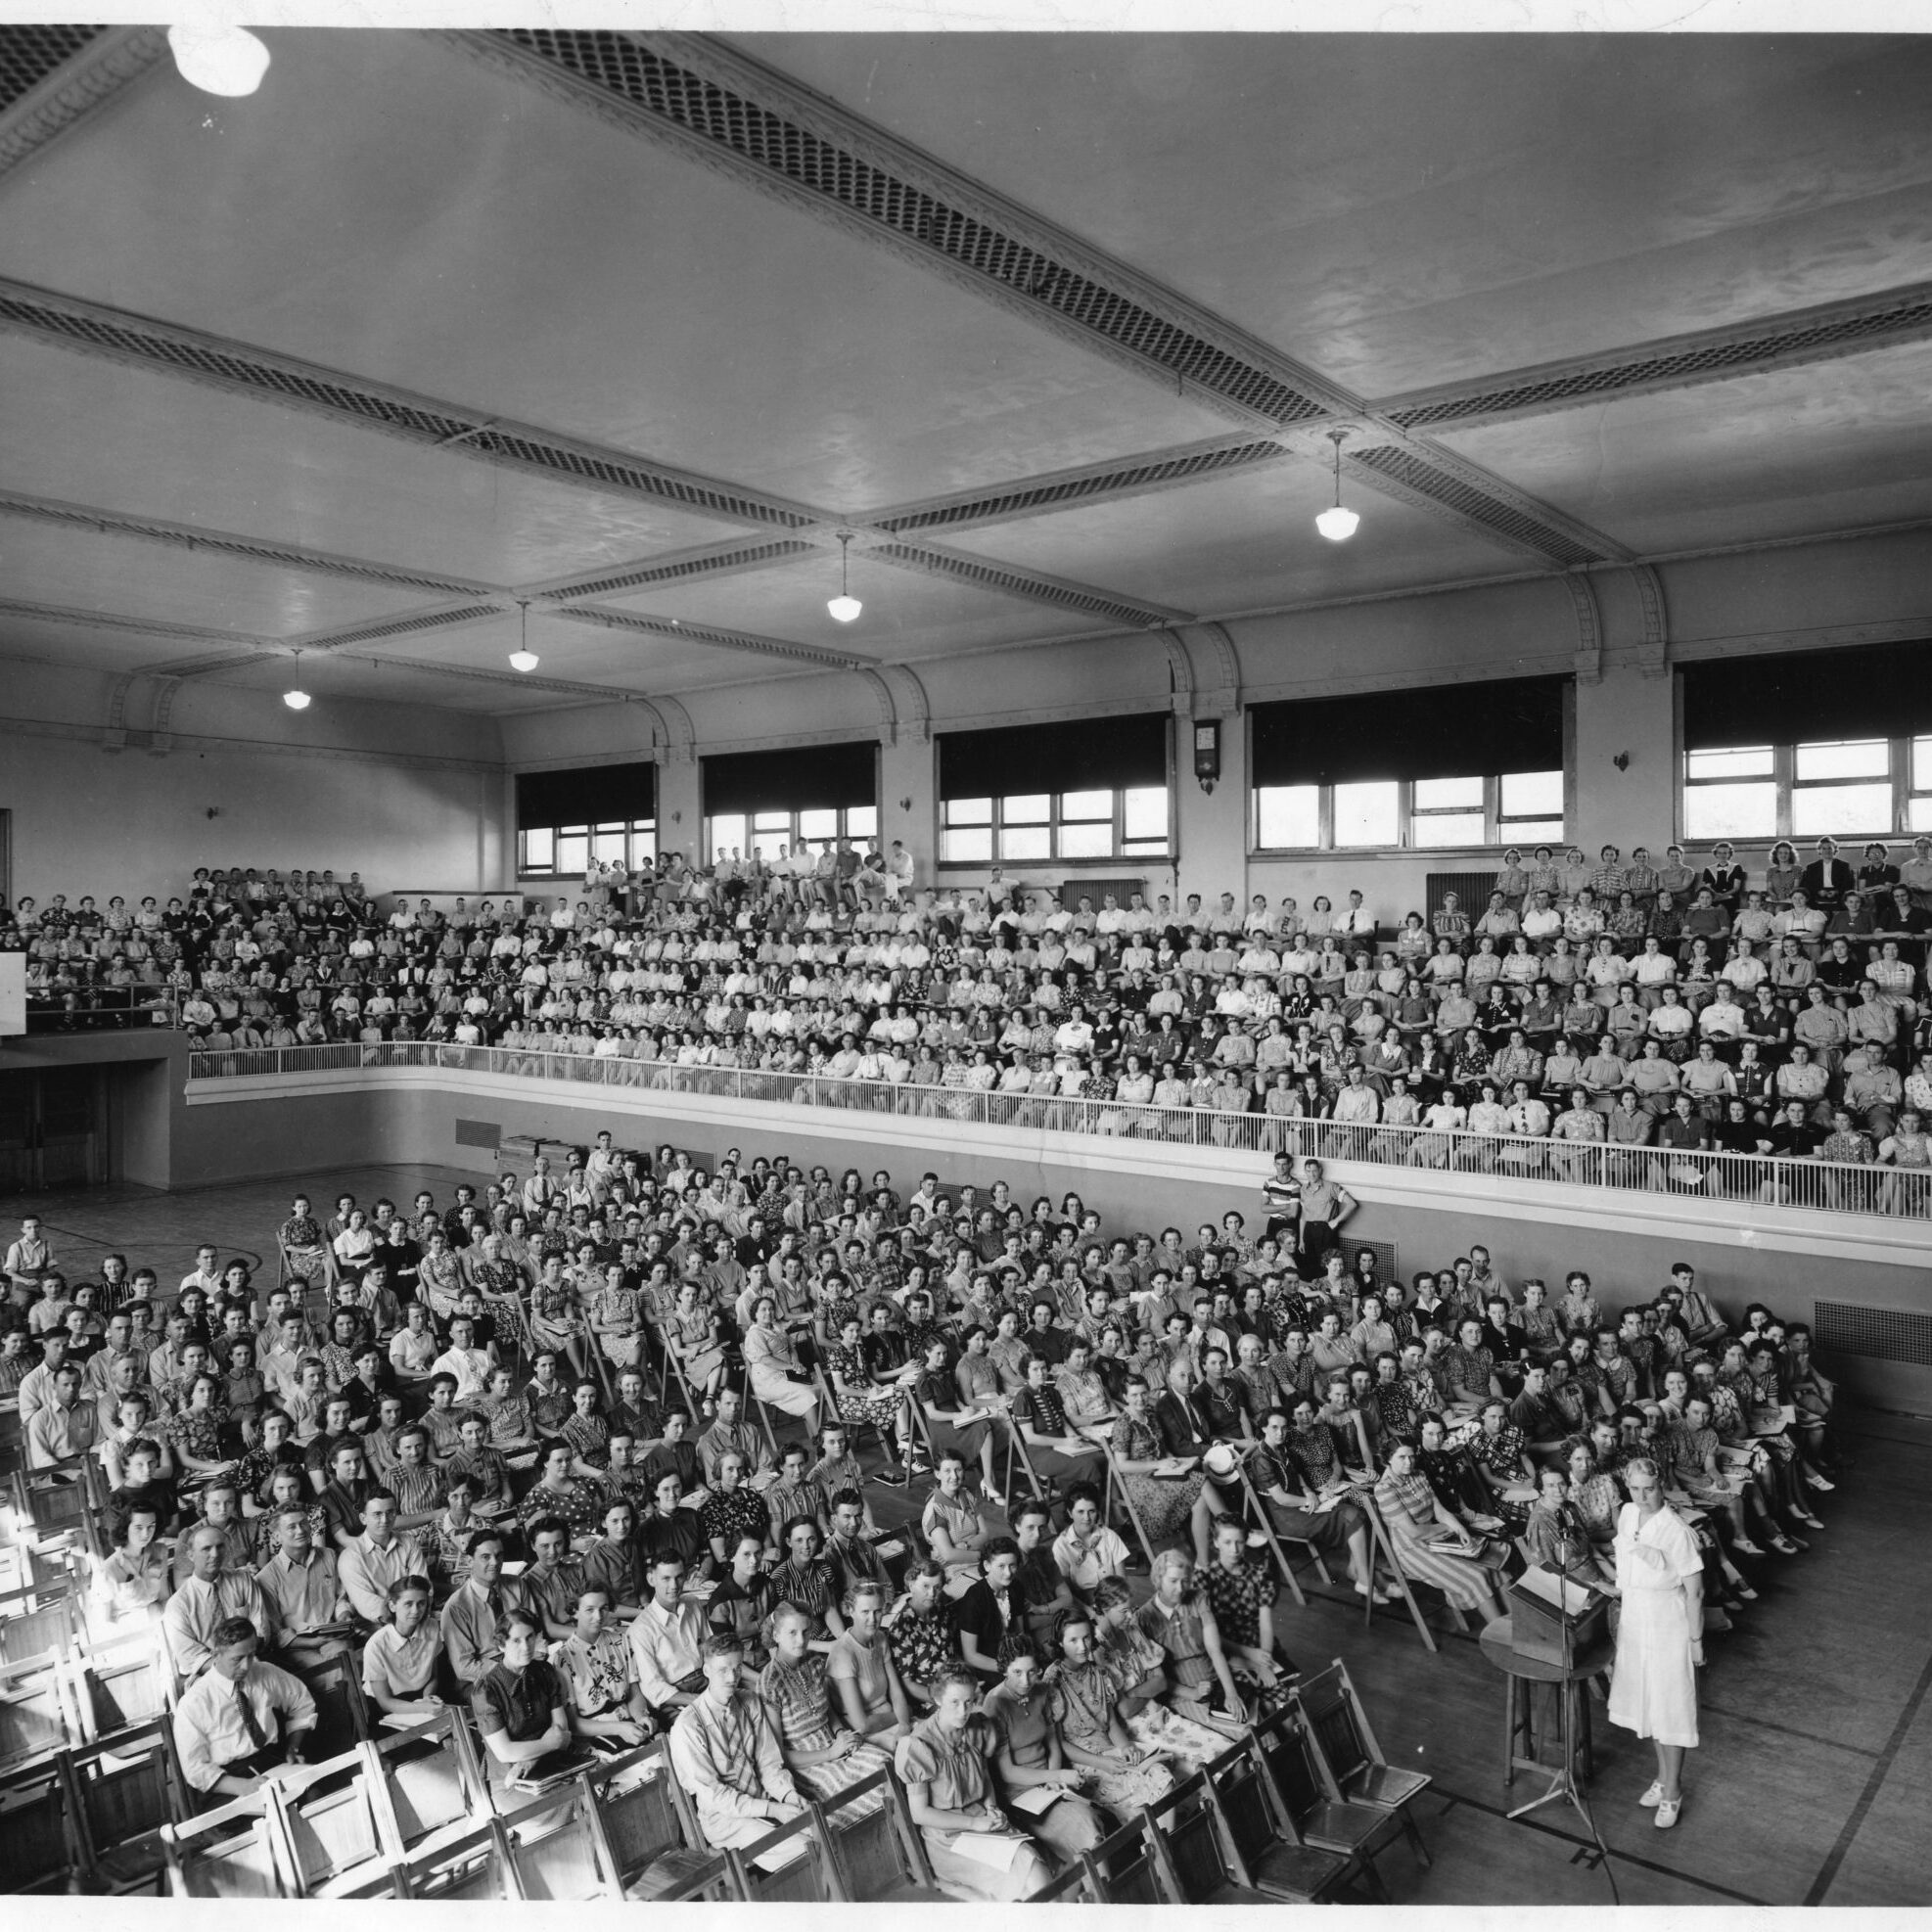
Photo 4
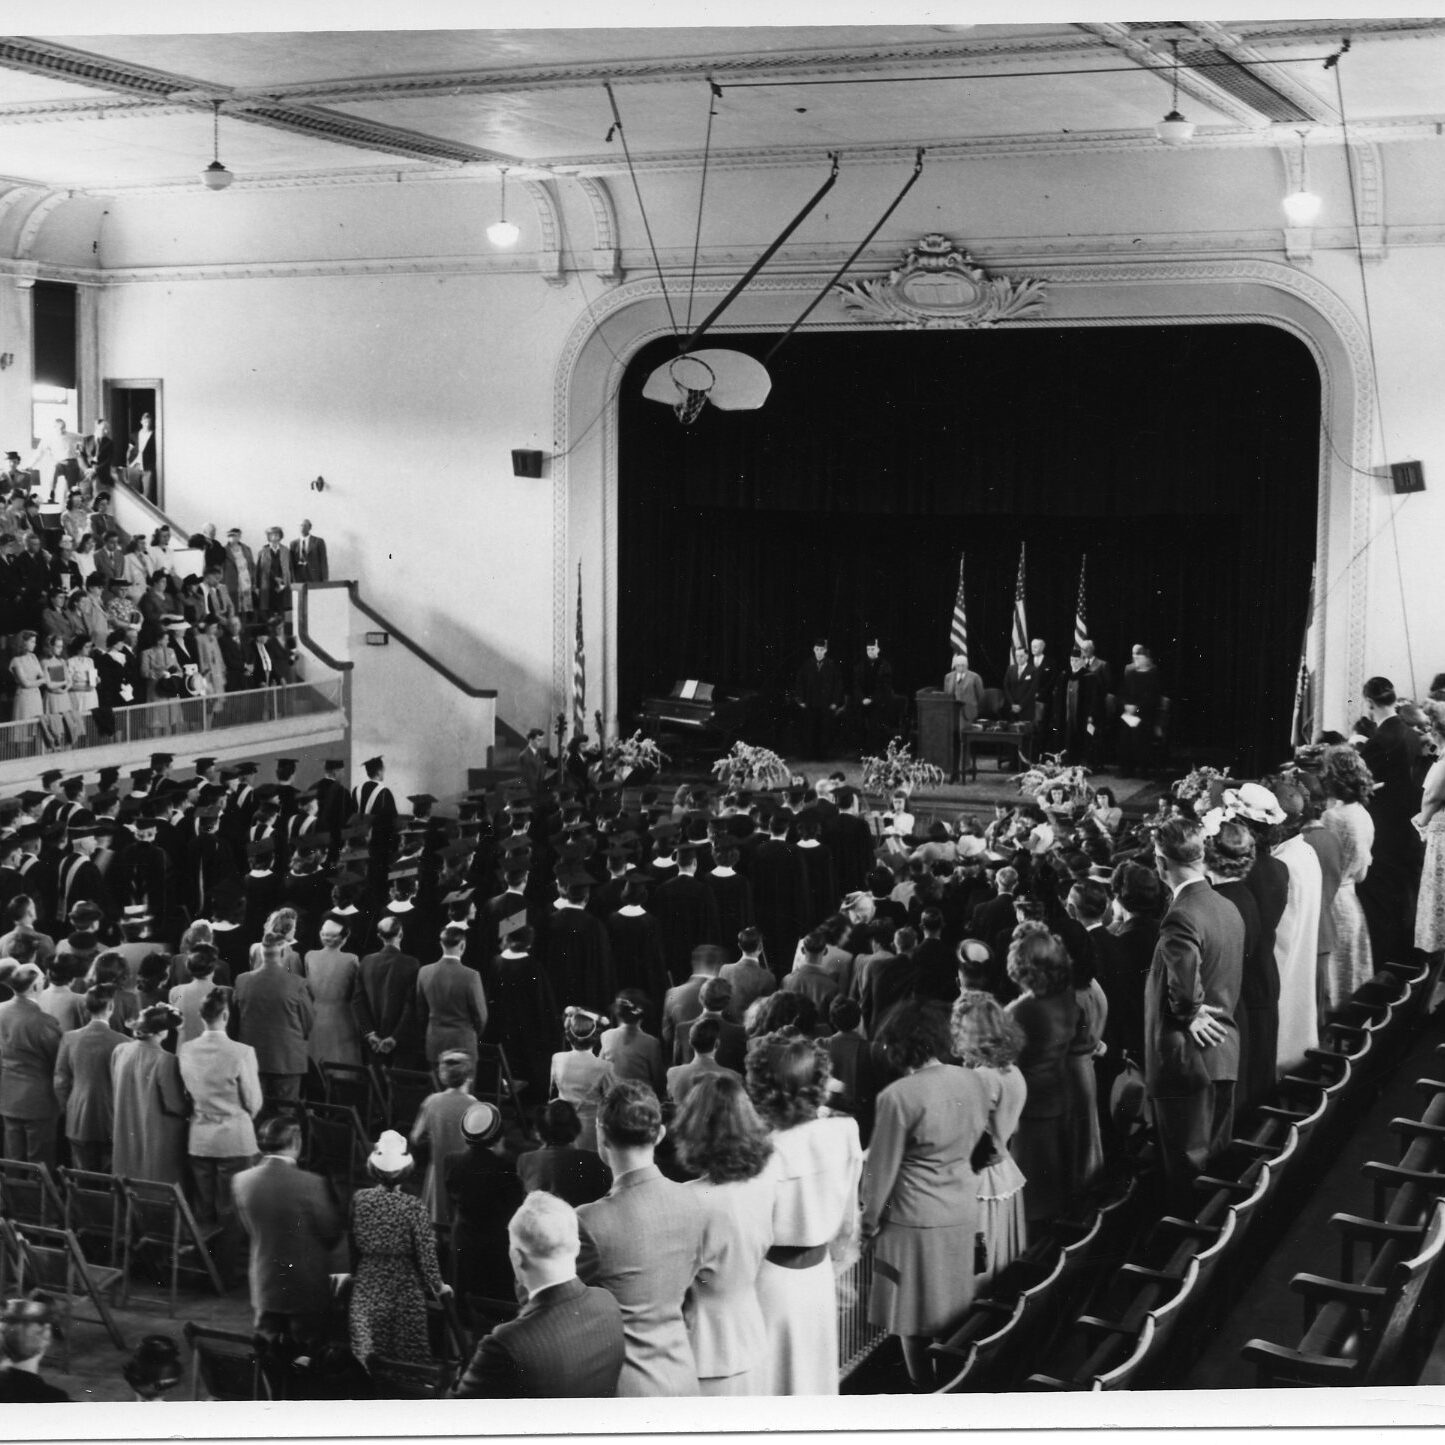
Photo 5
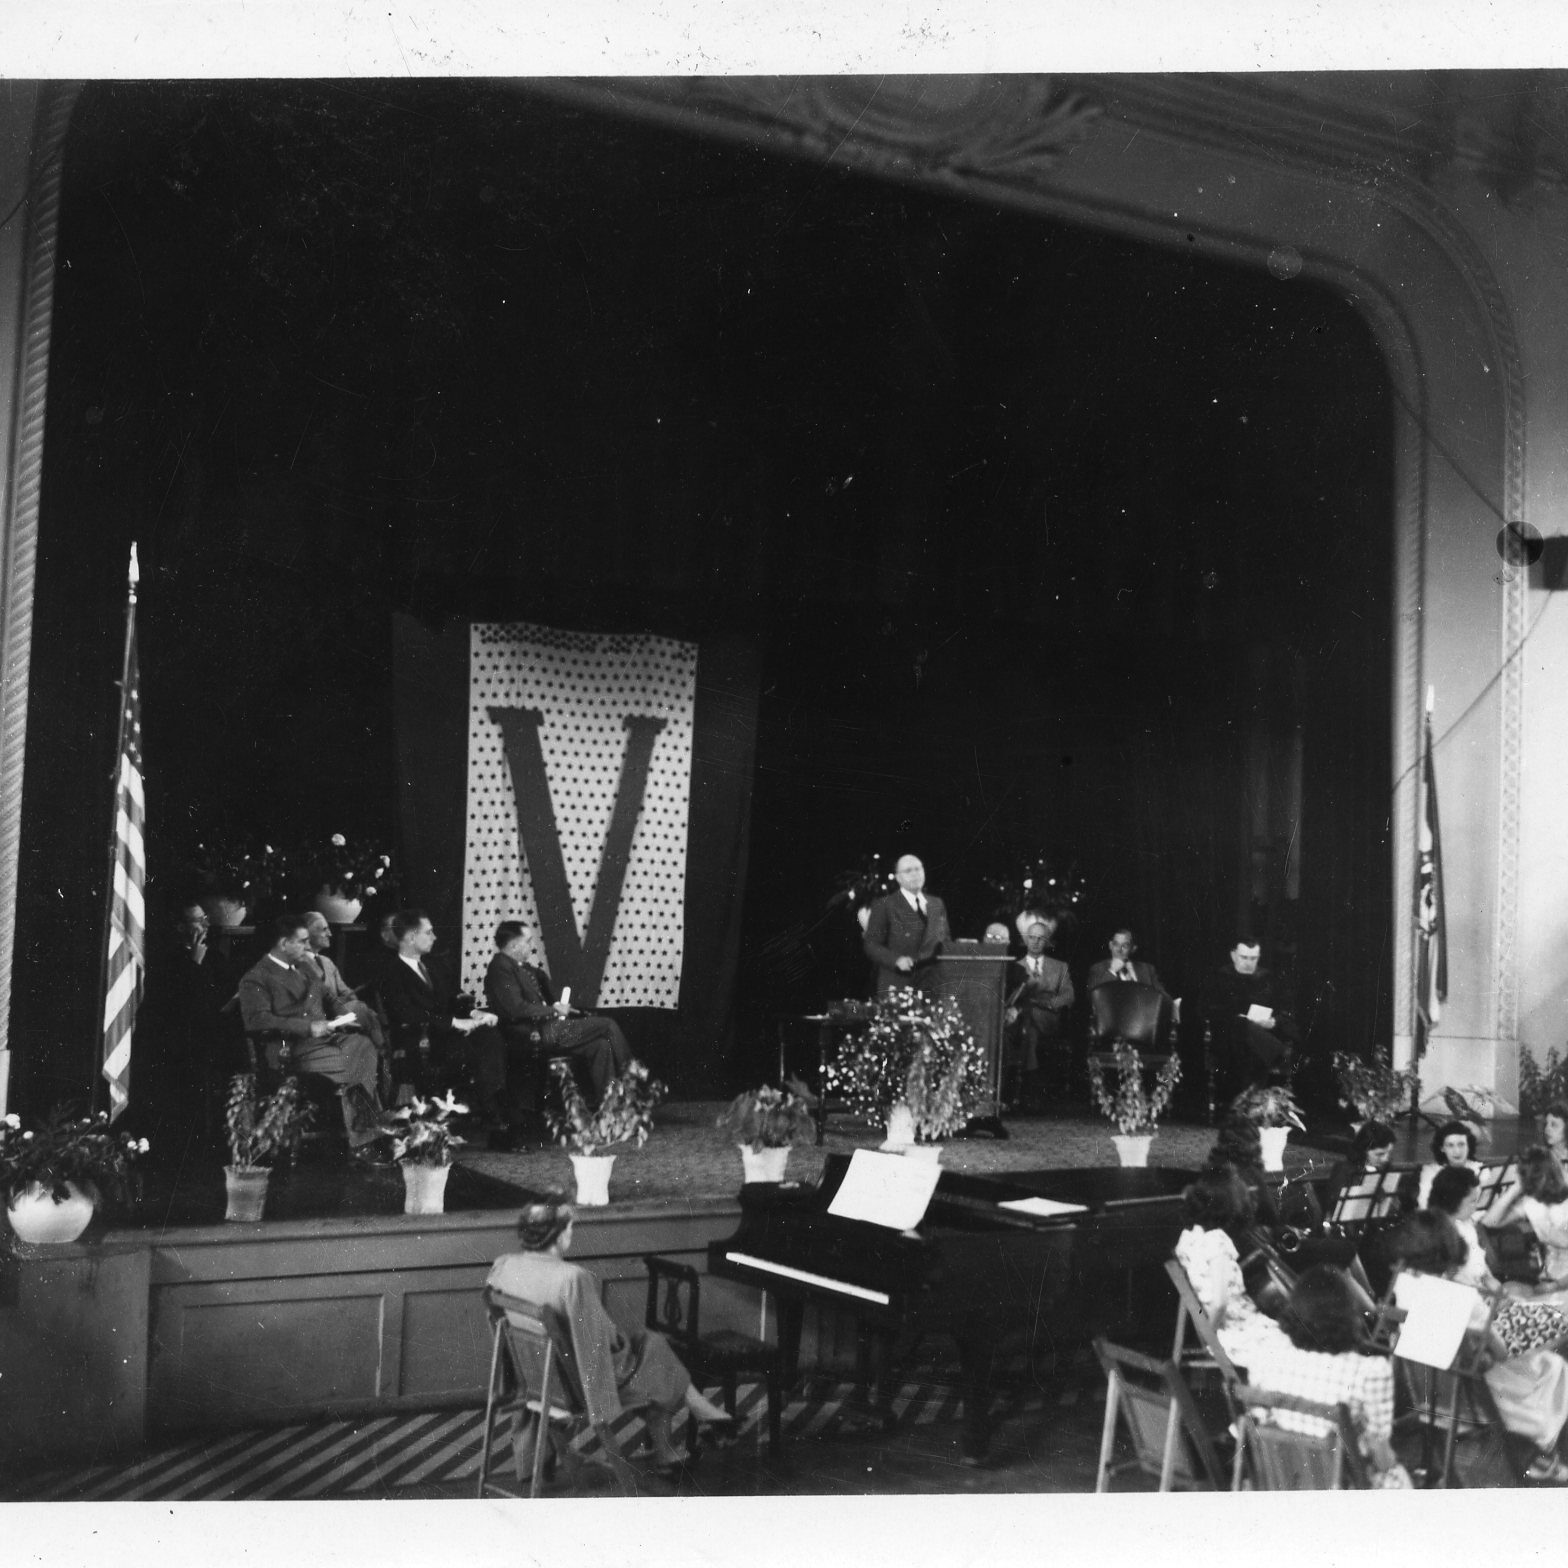
Photo 6
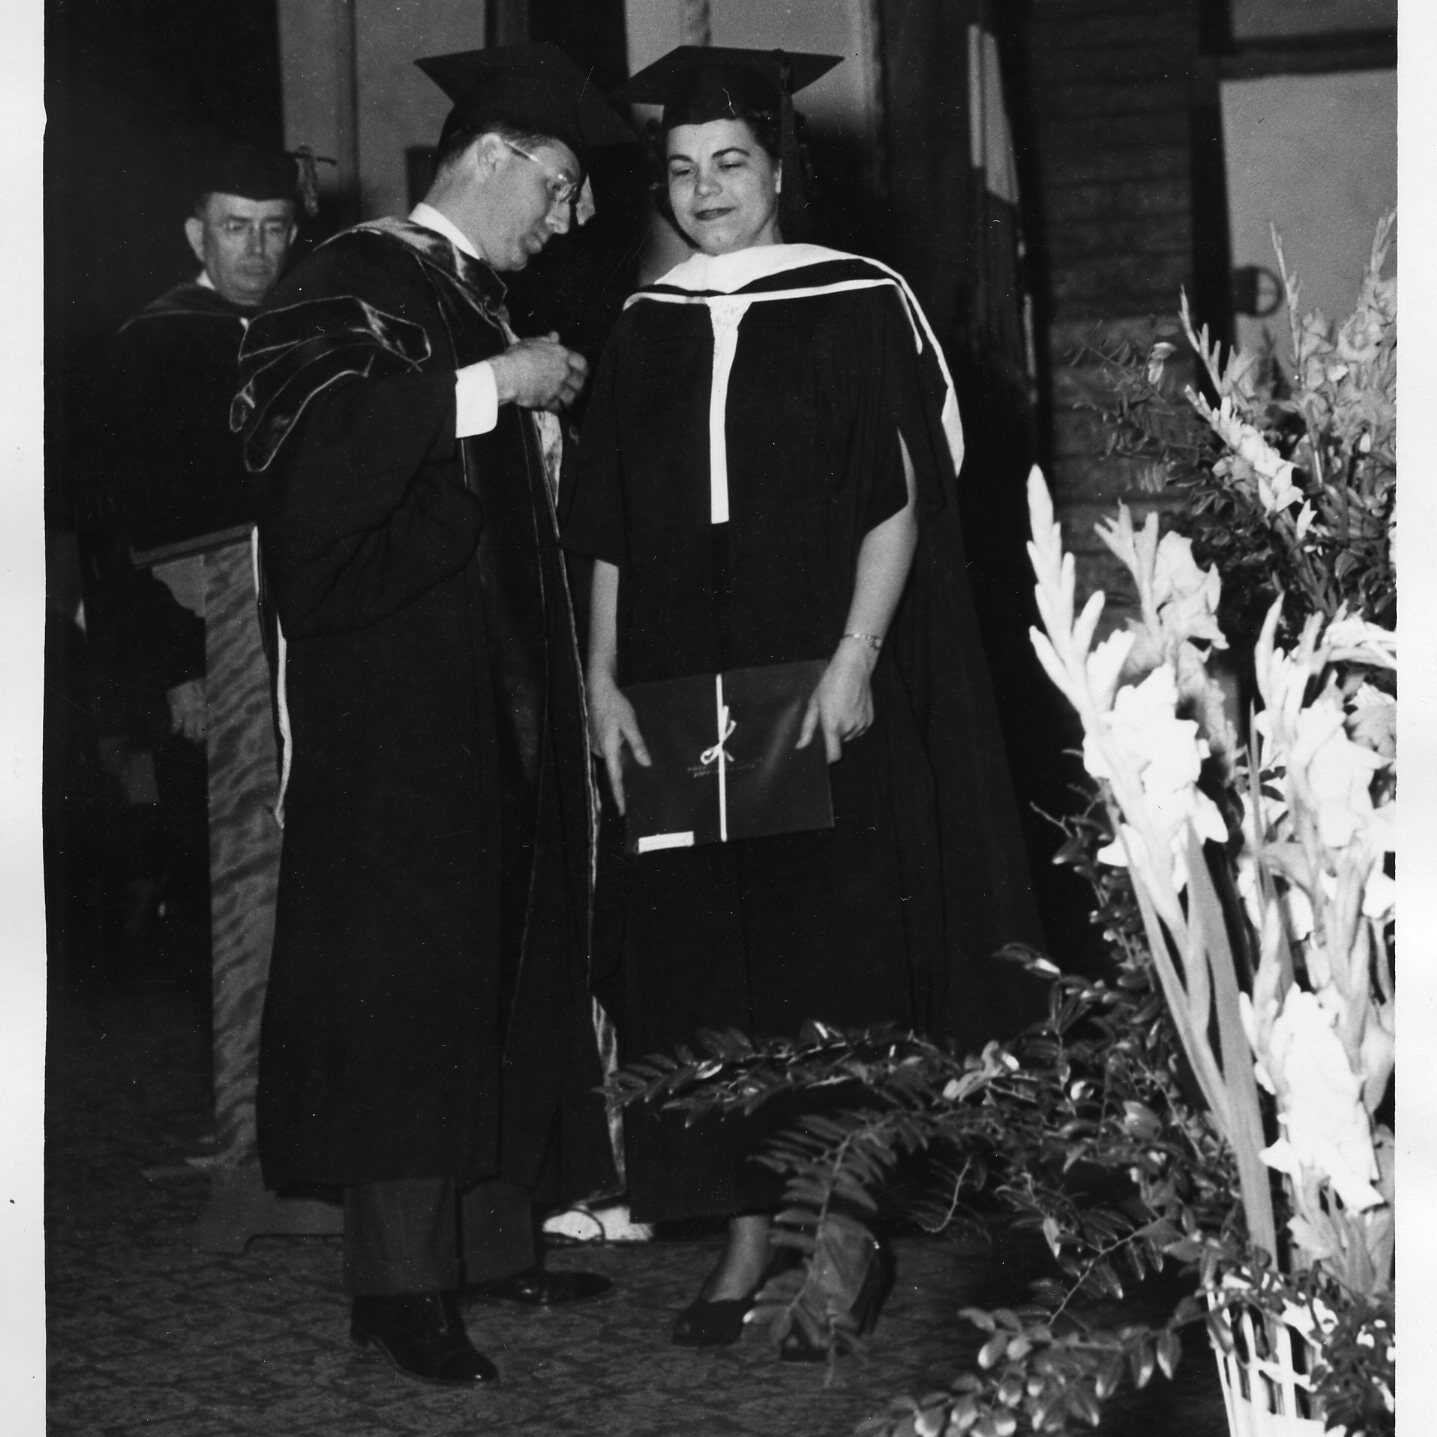
Photo 7
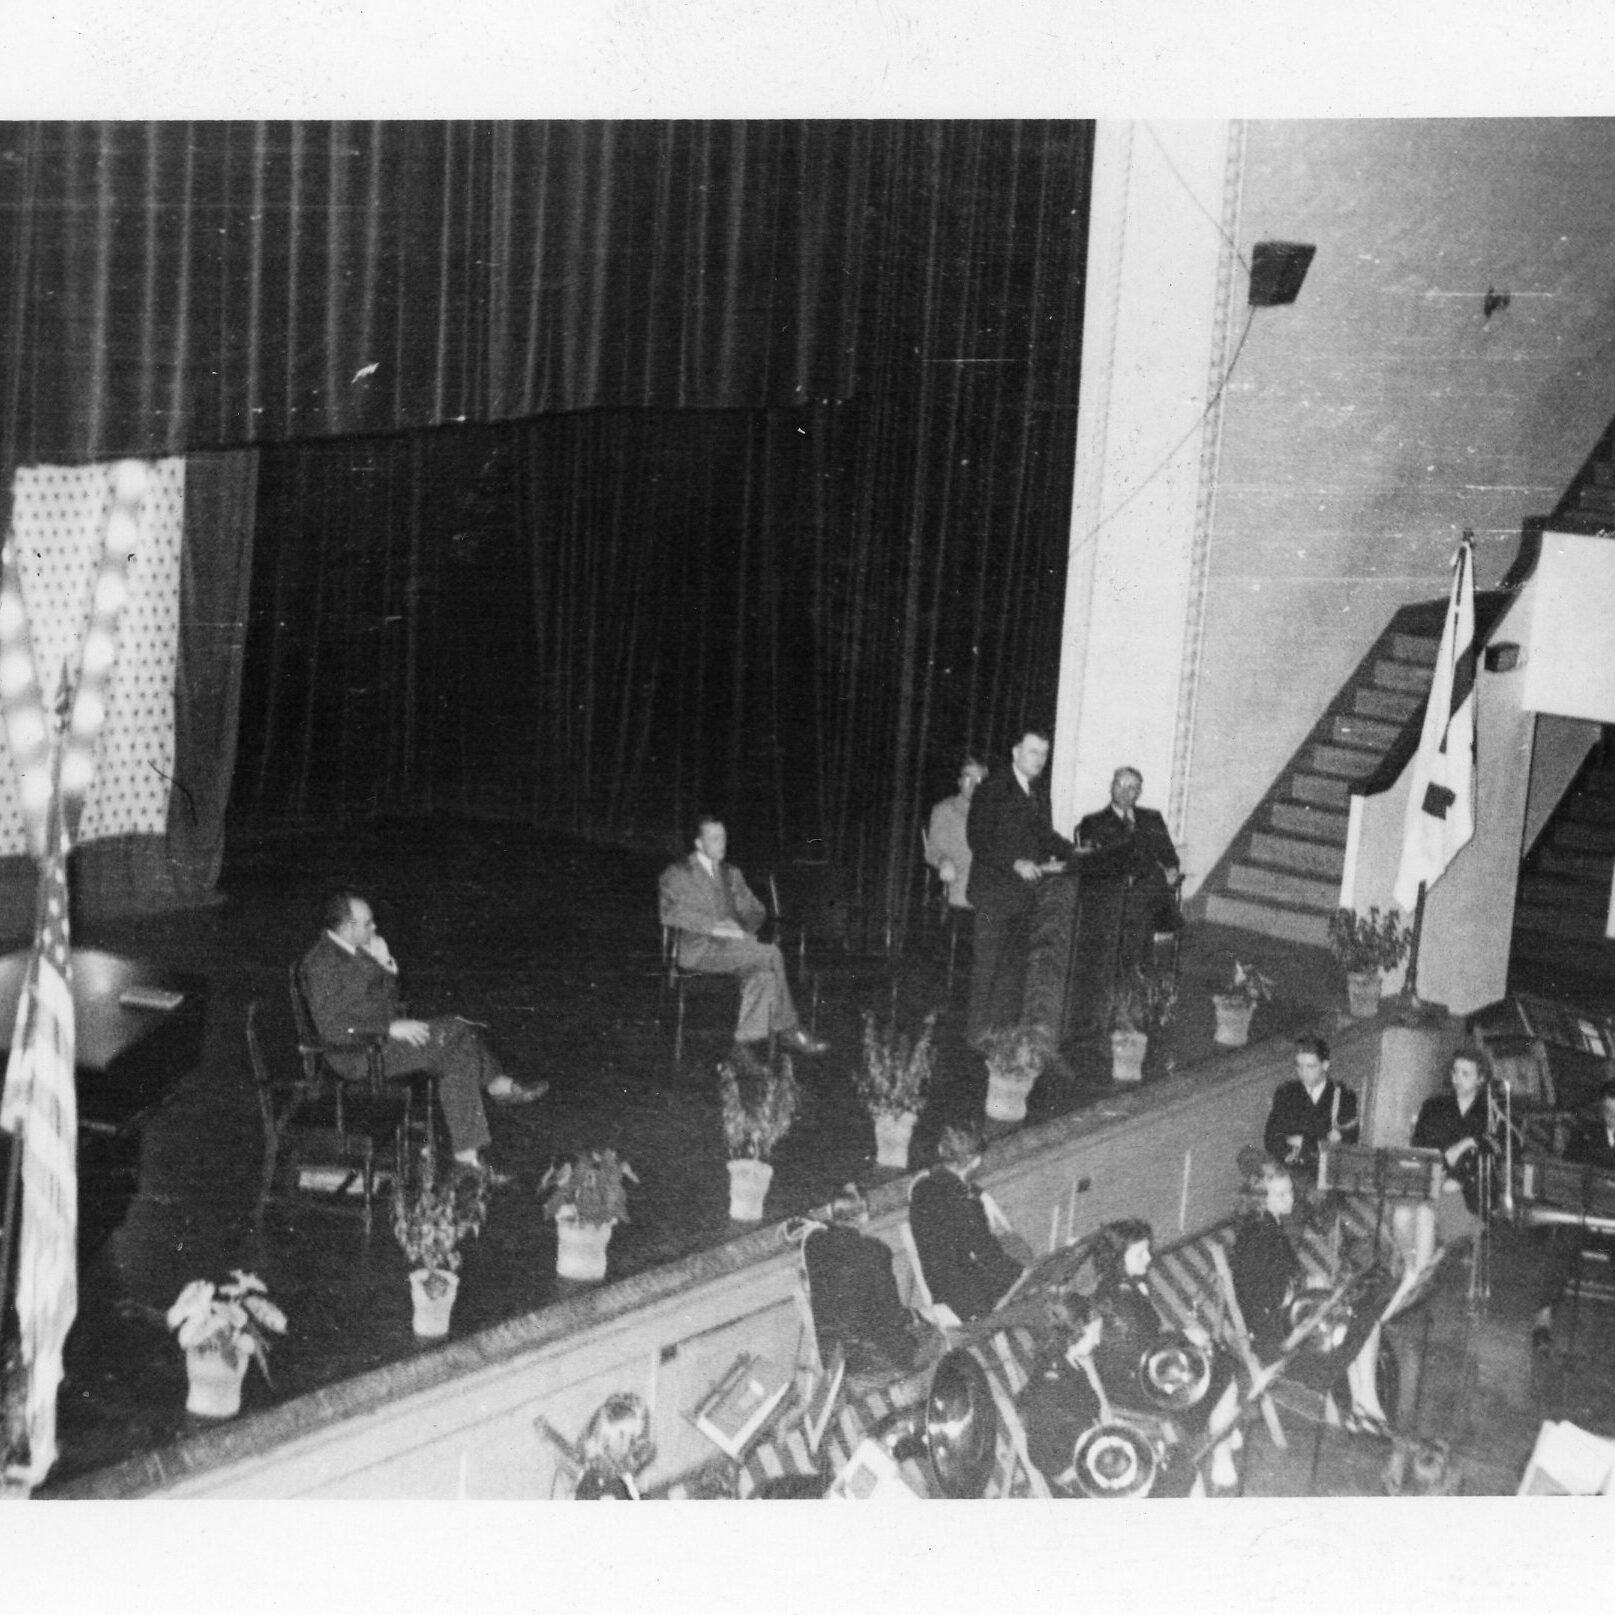
Photo 8
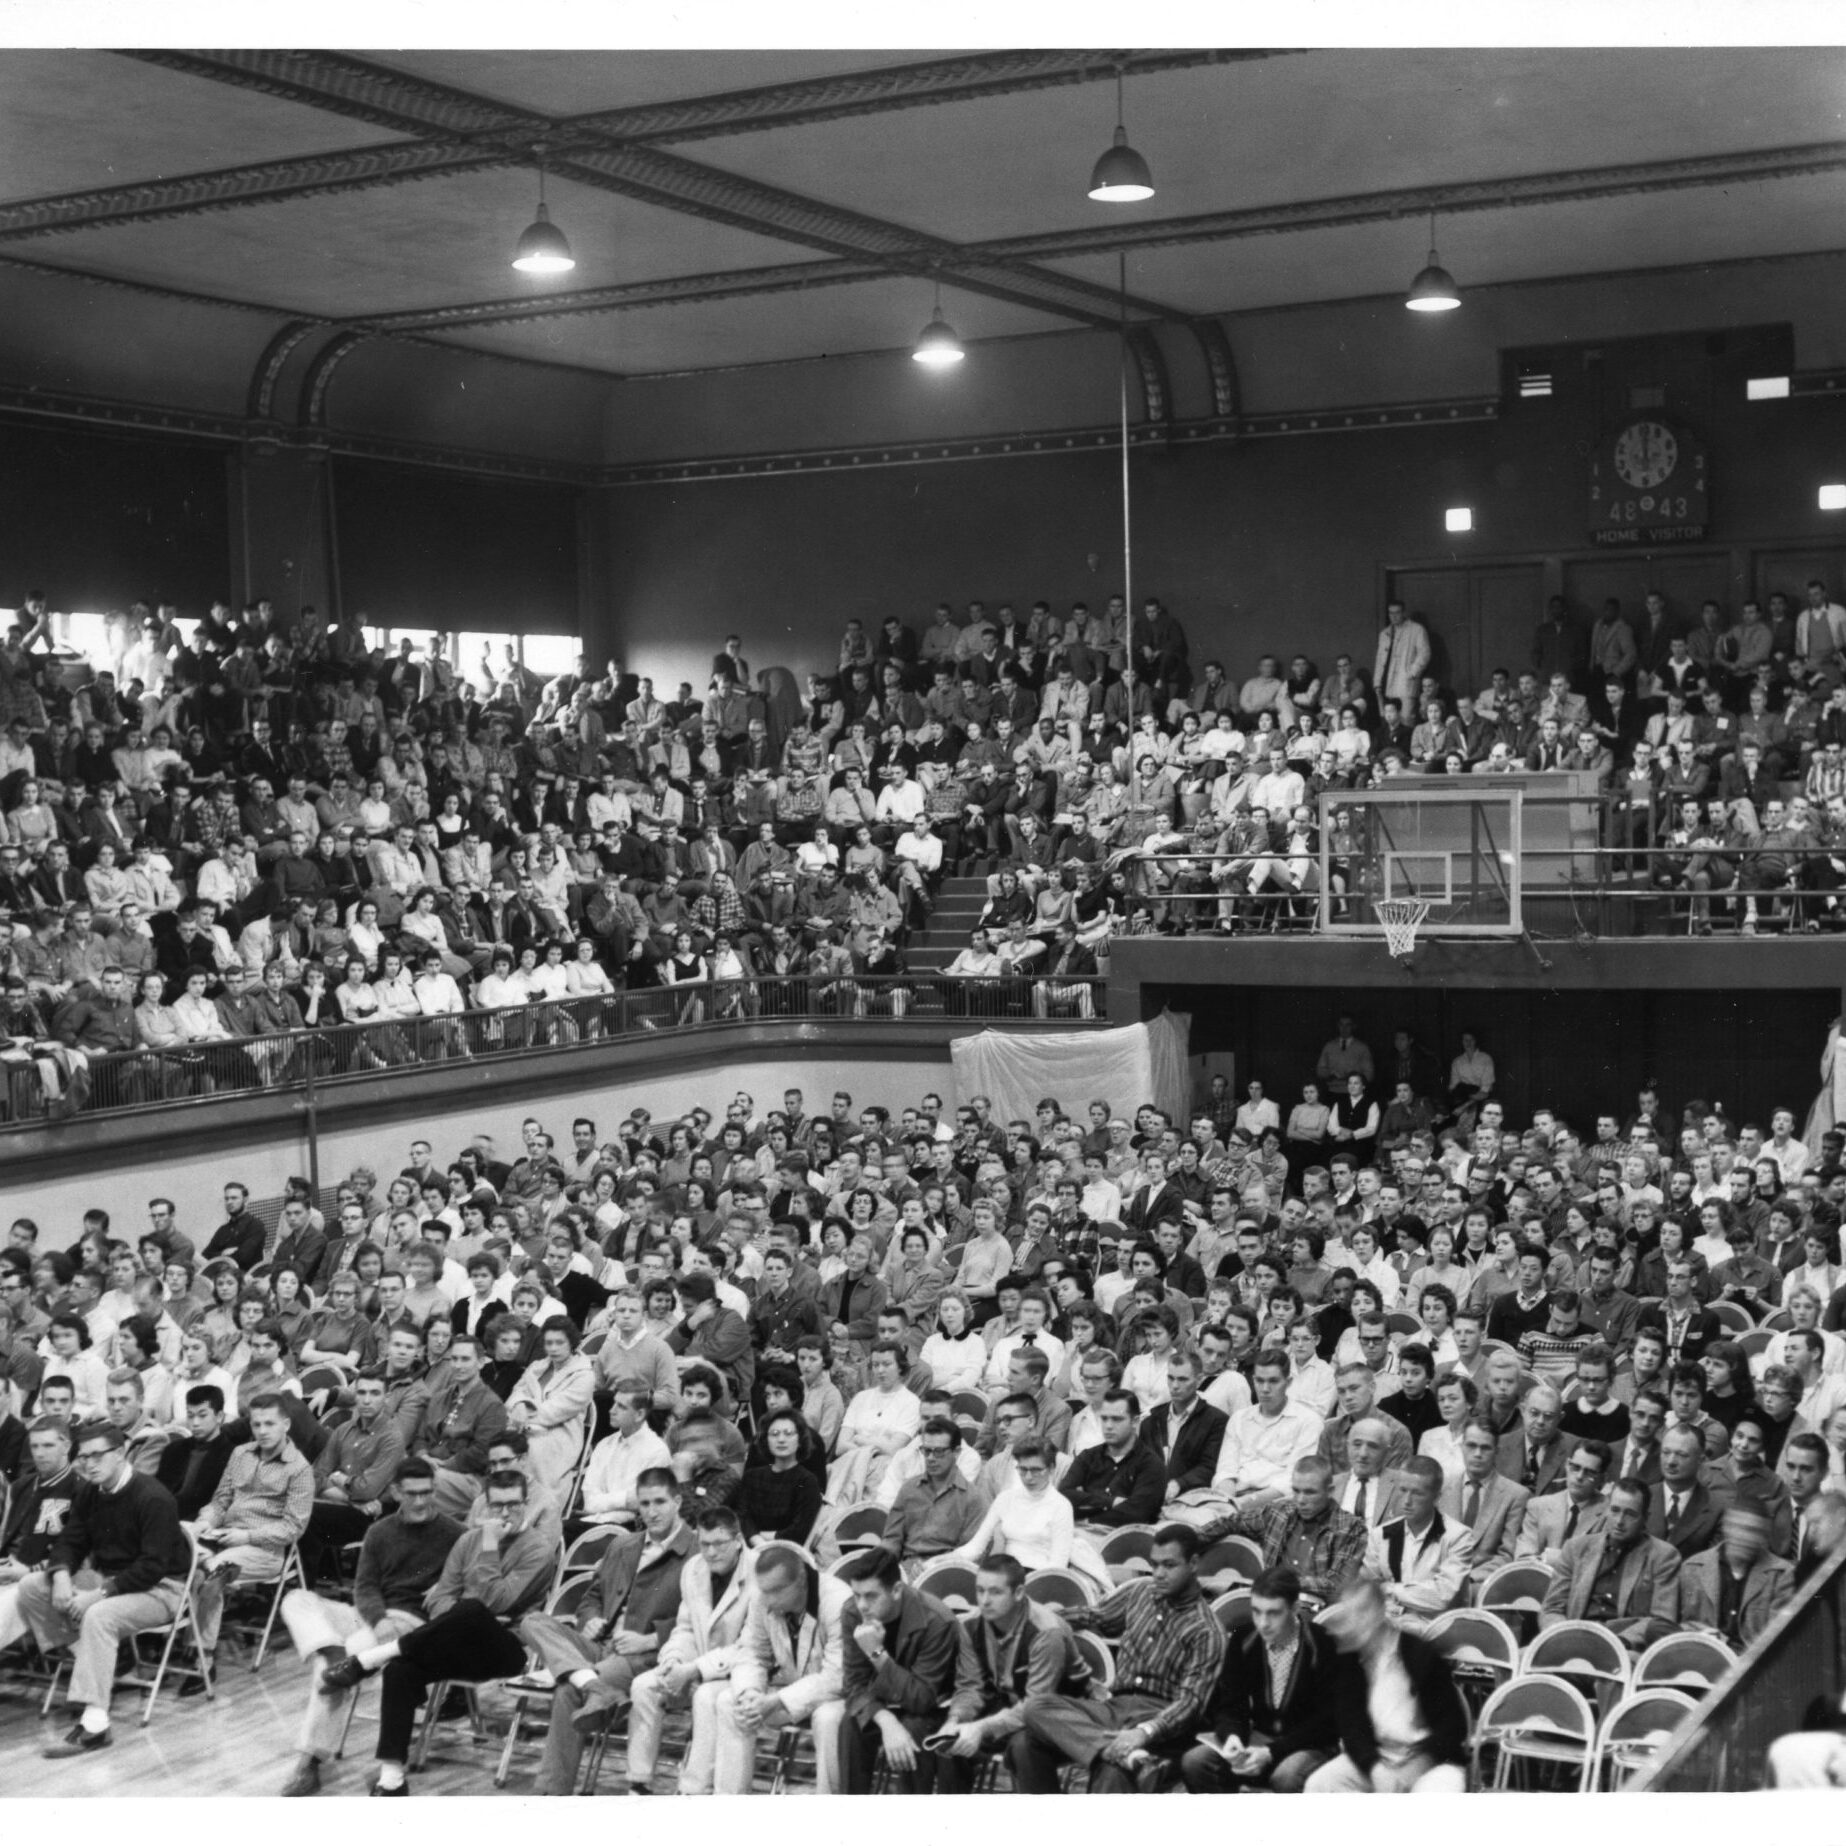
Photo 9
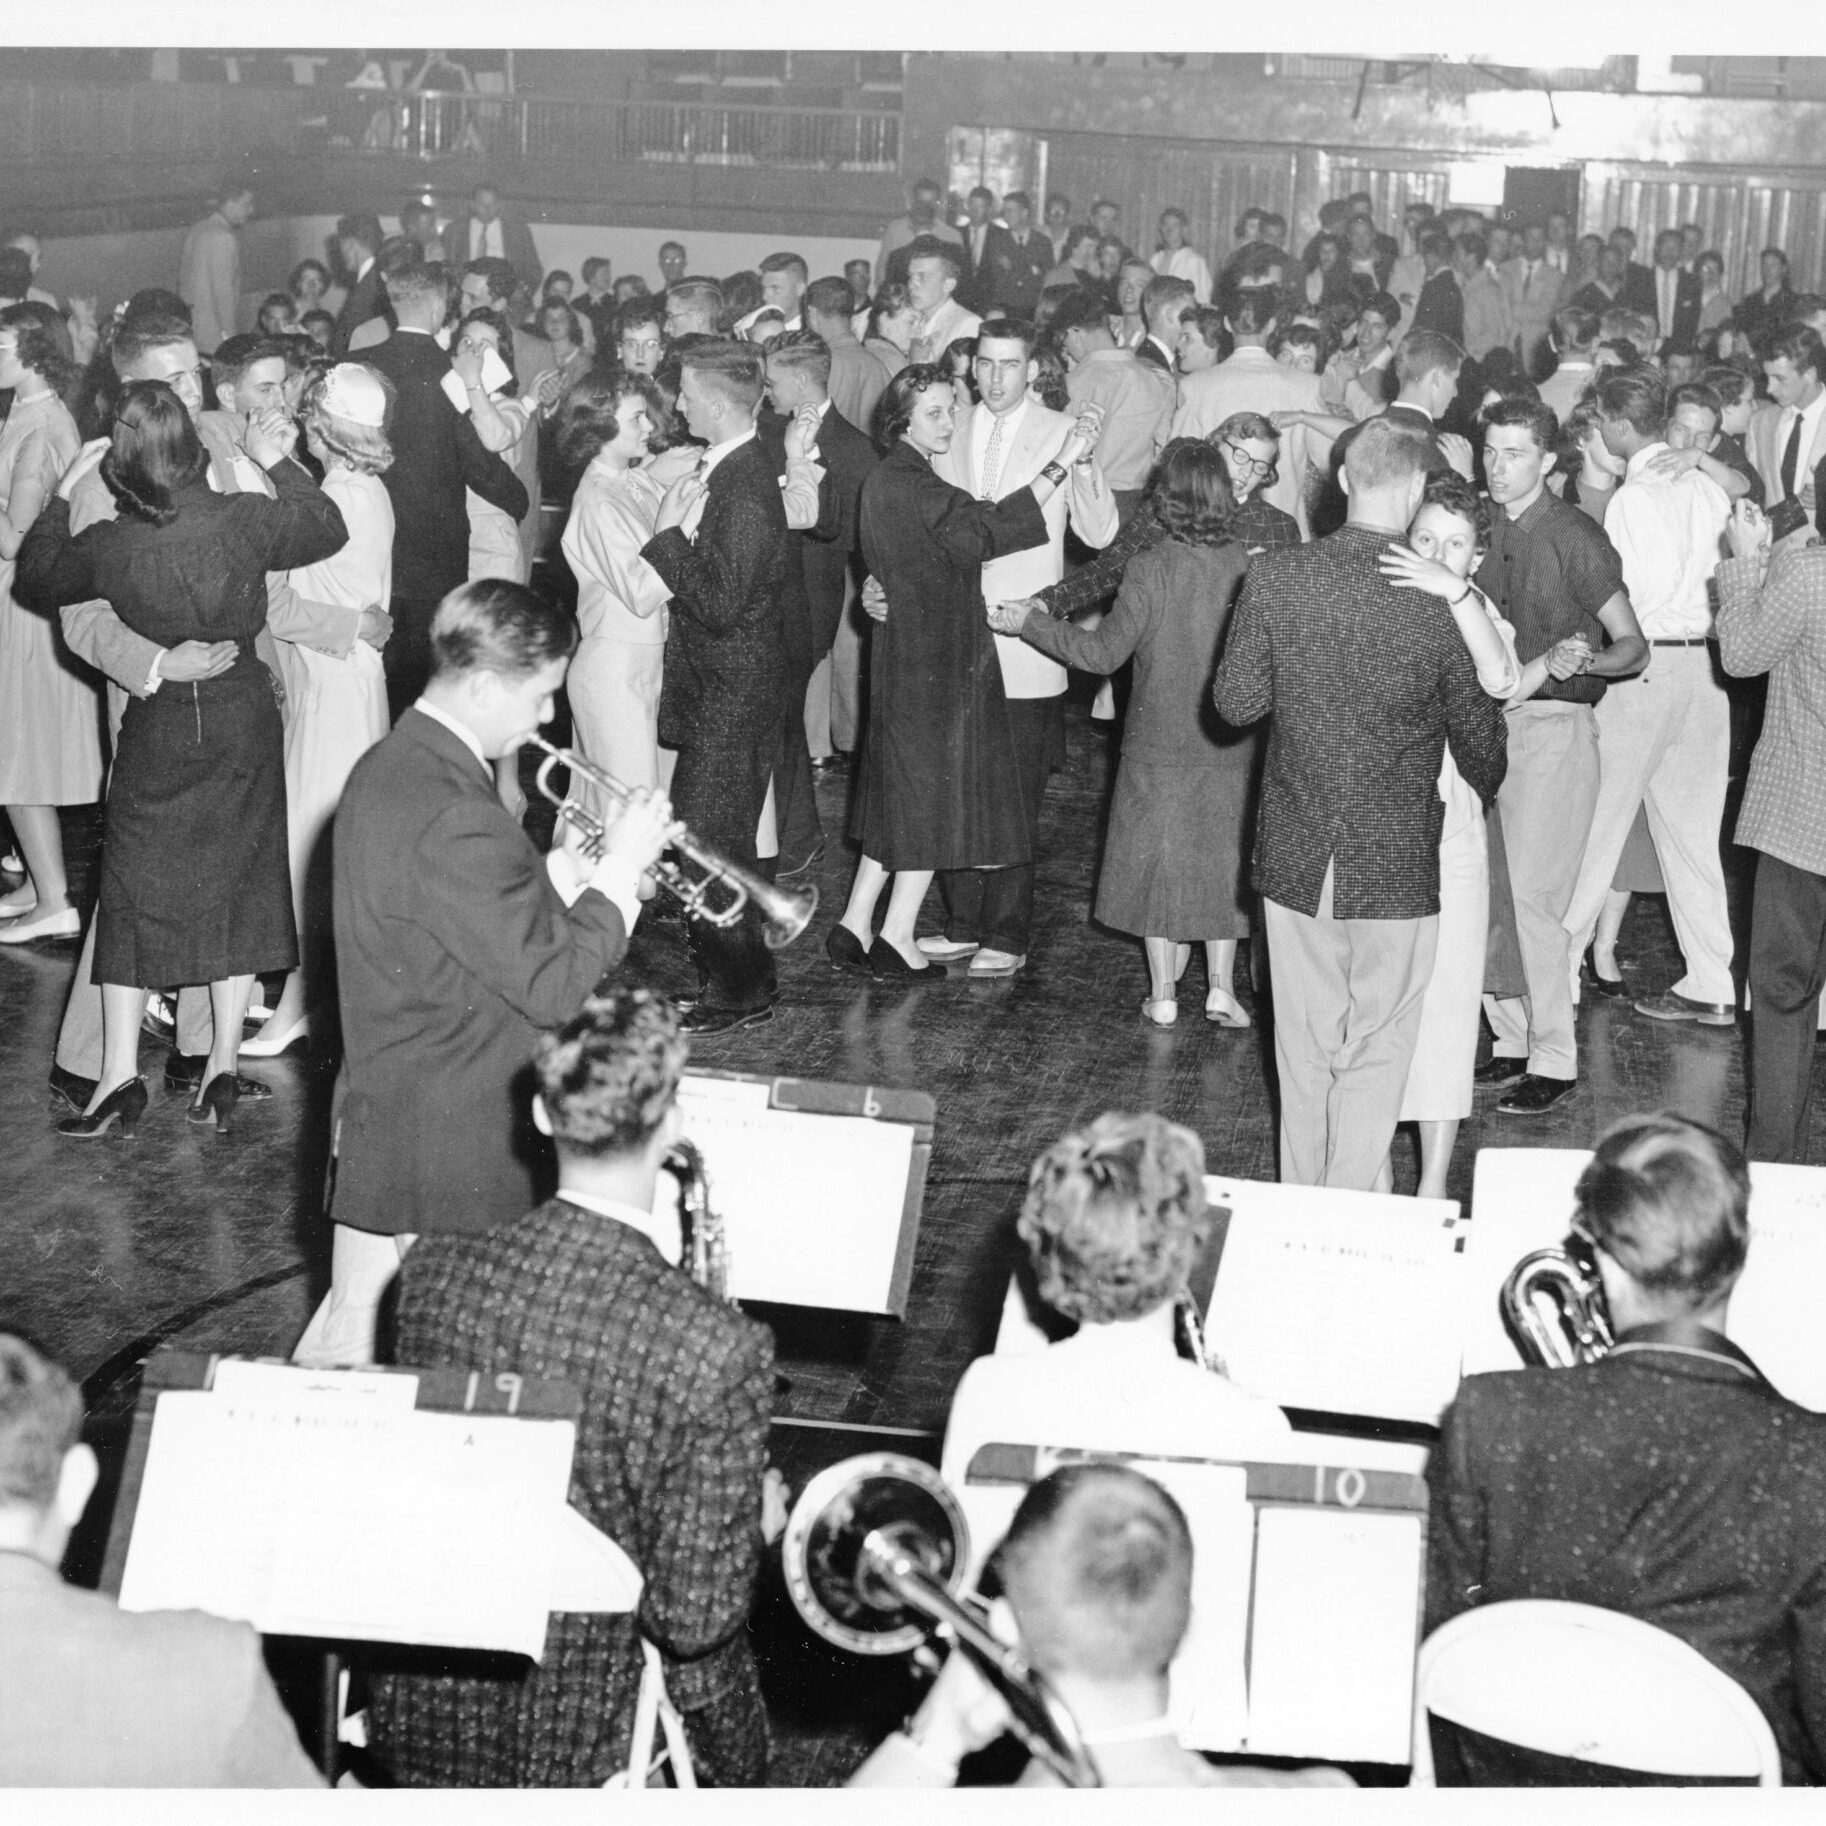
Photo 10
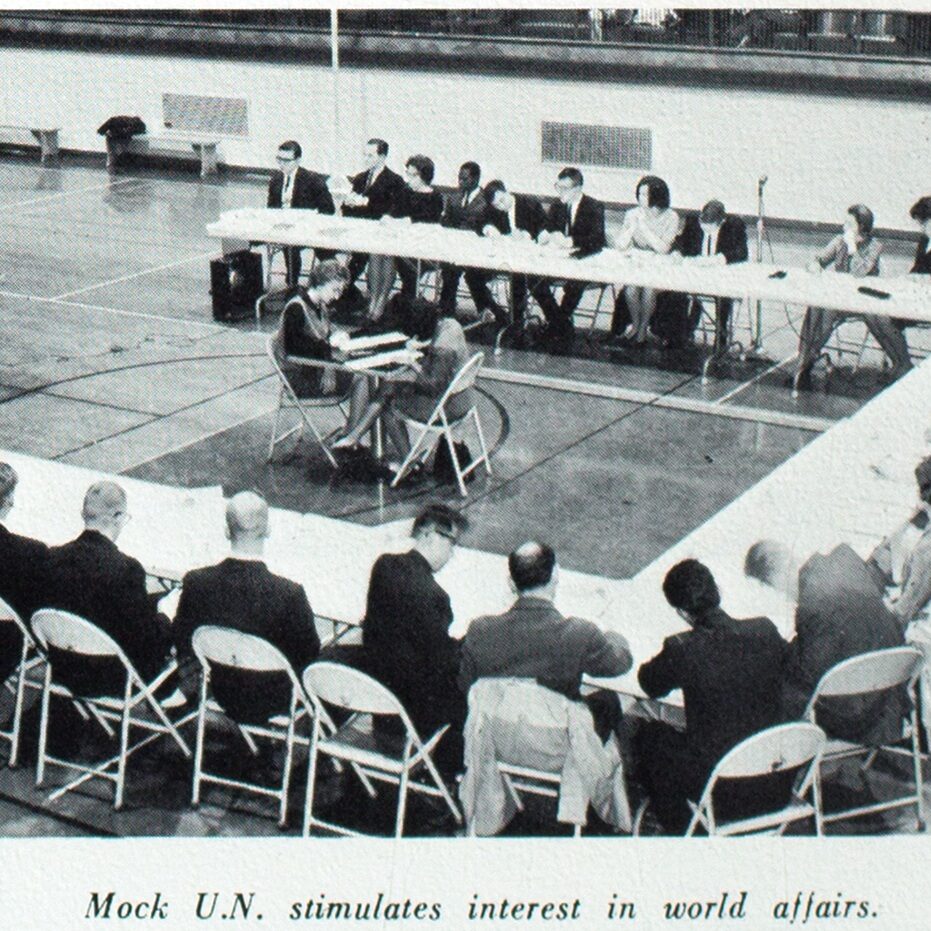
Photo 11
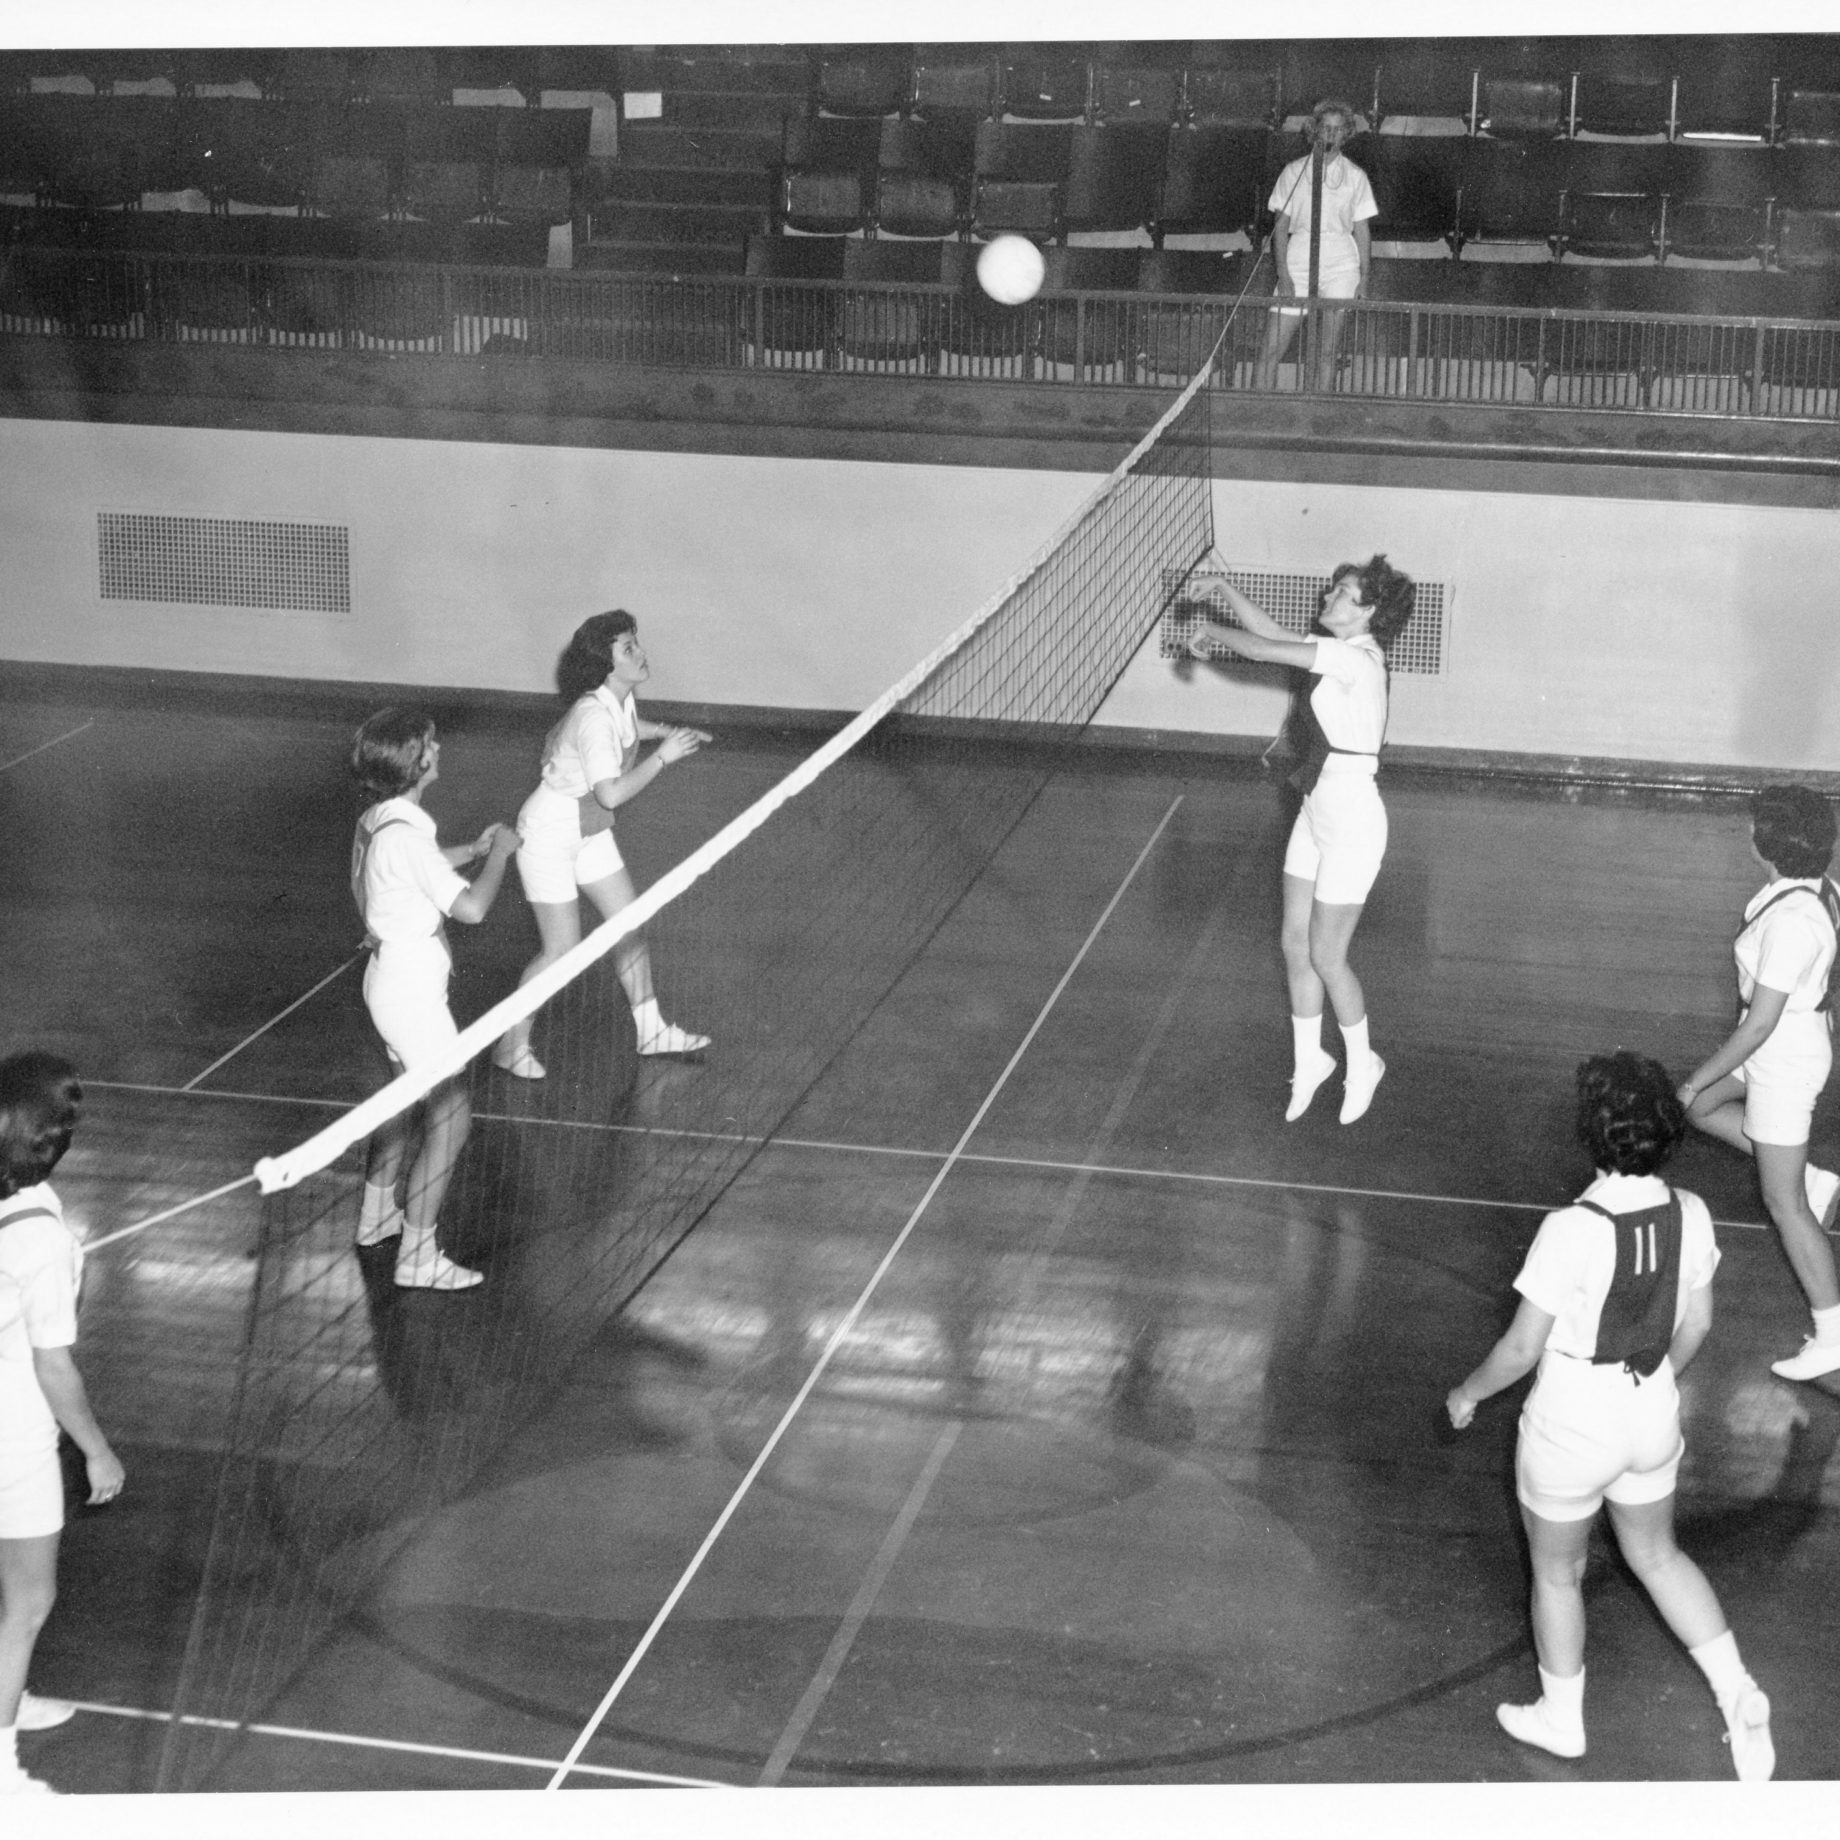
Photo 12
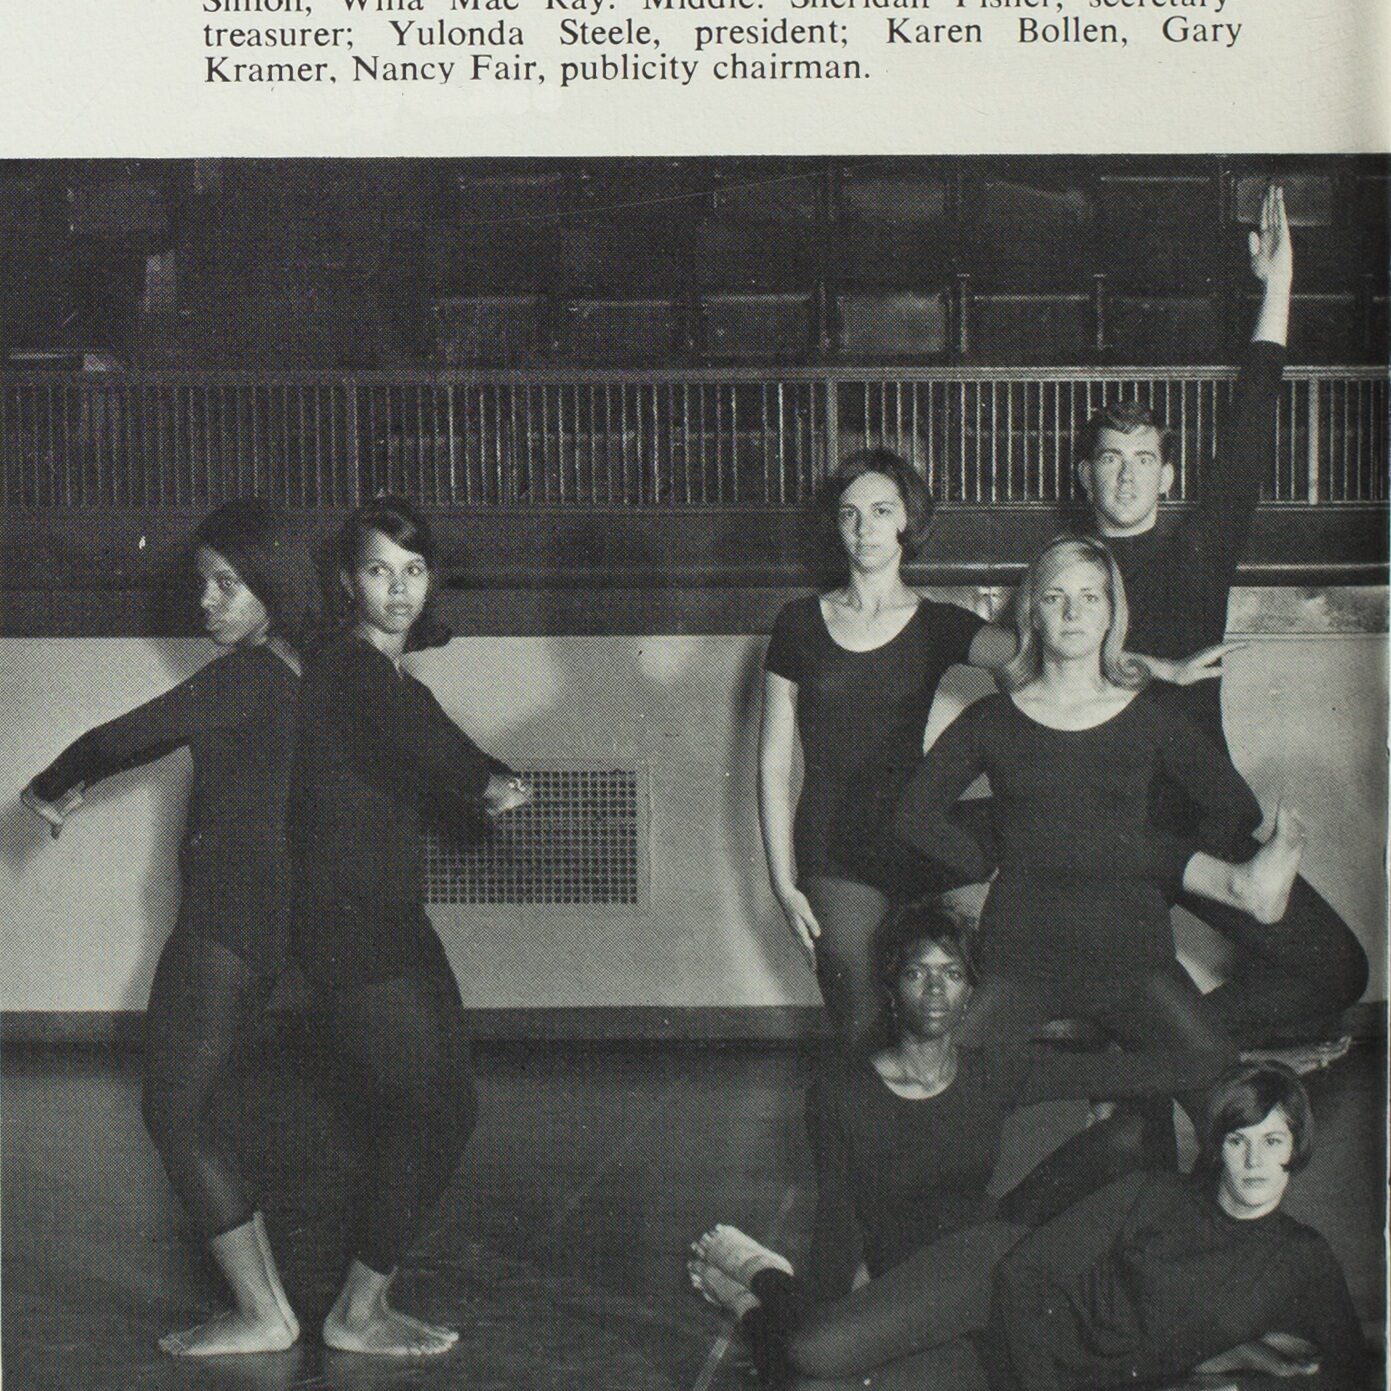
Photo 13
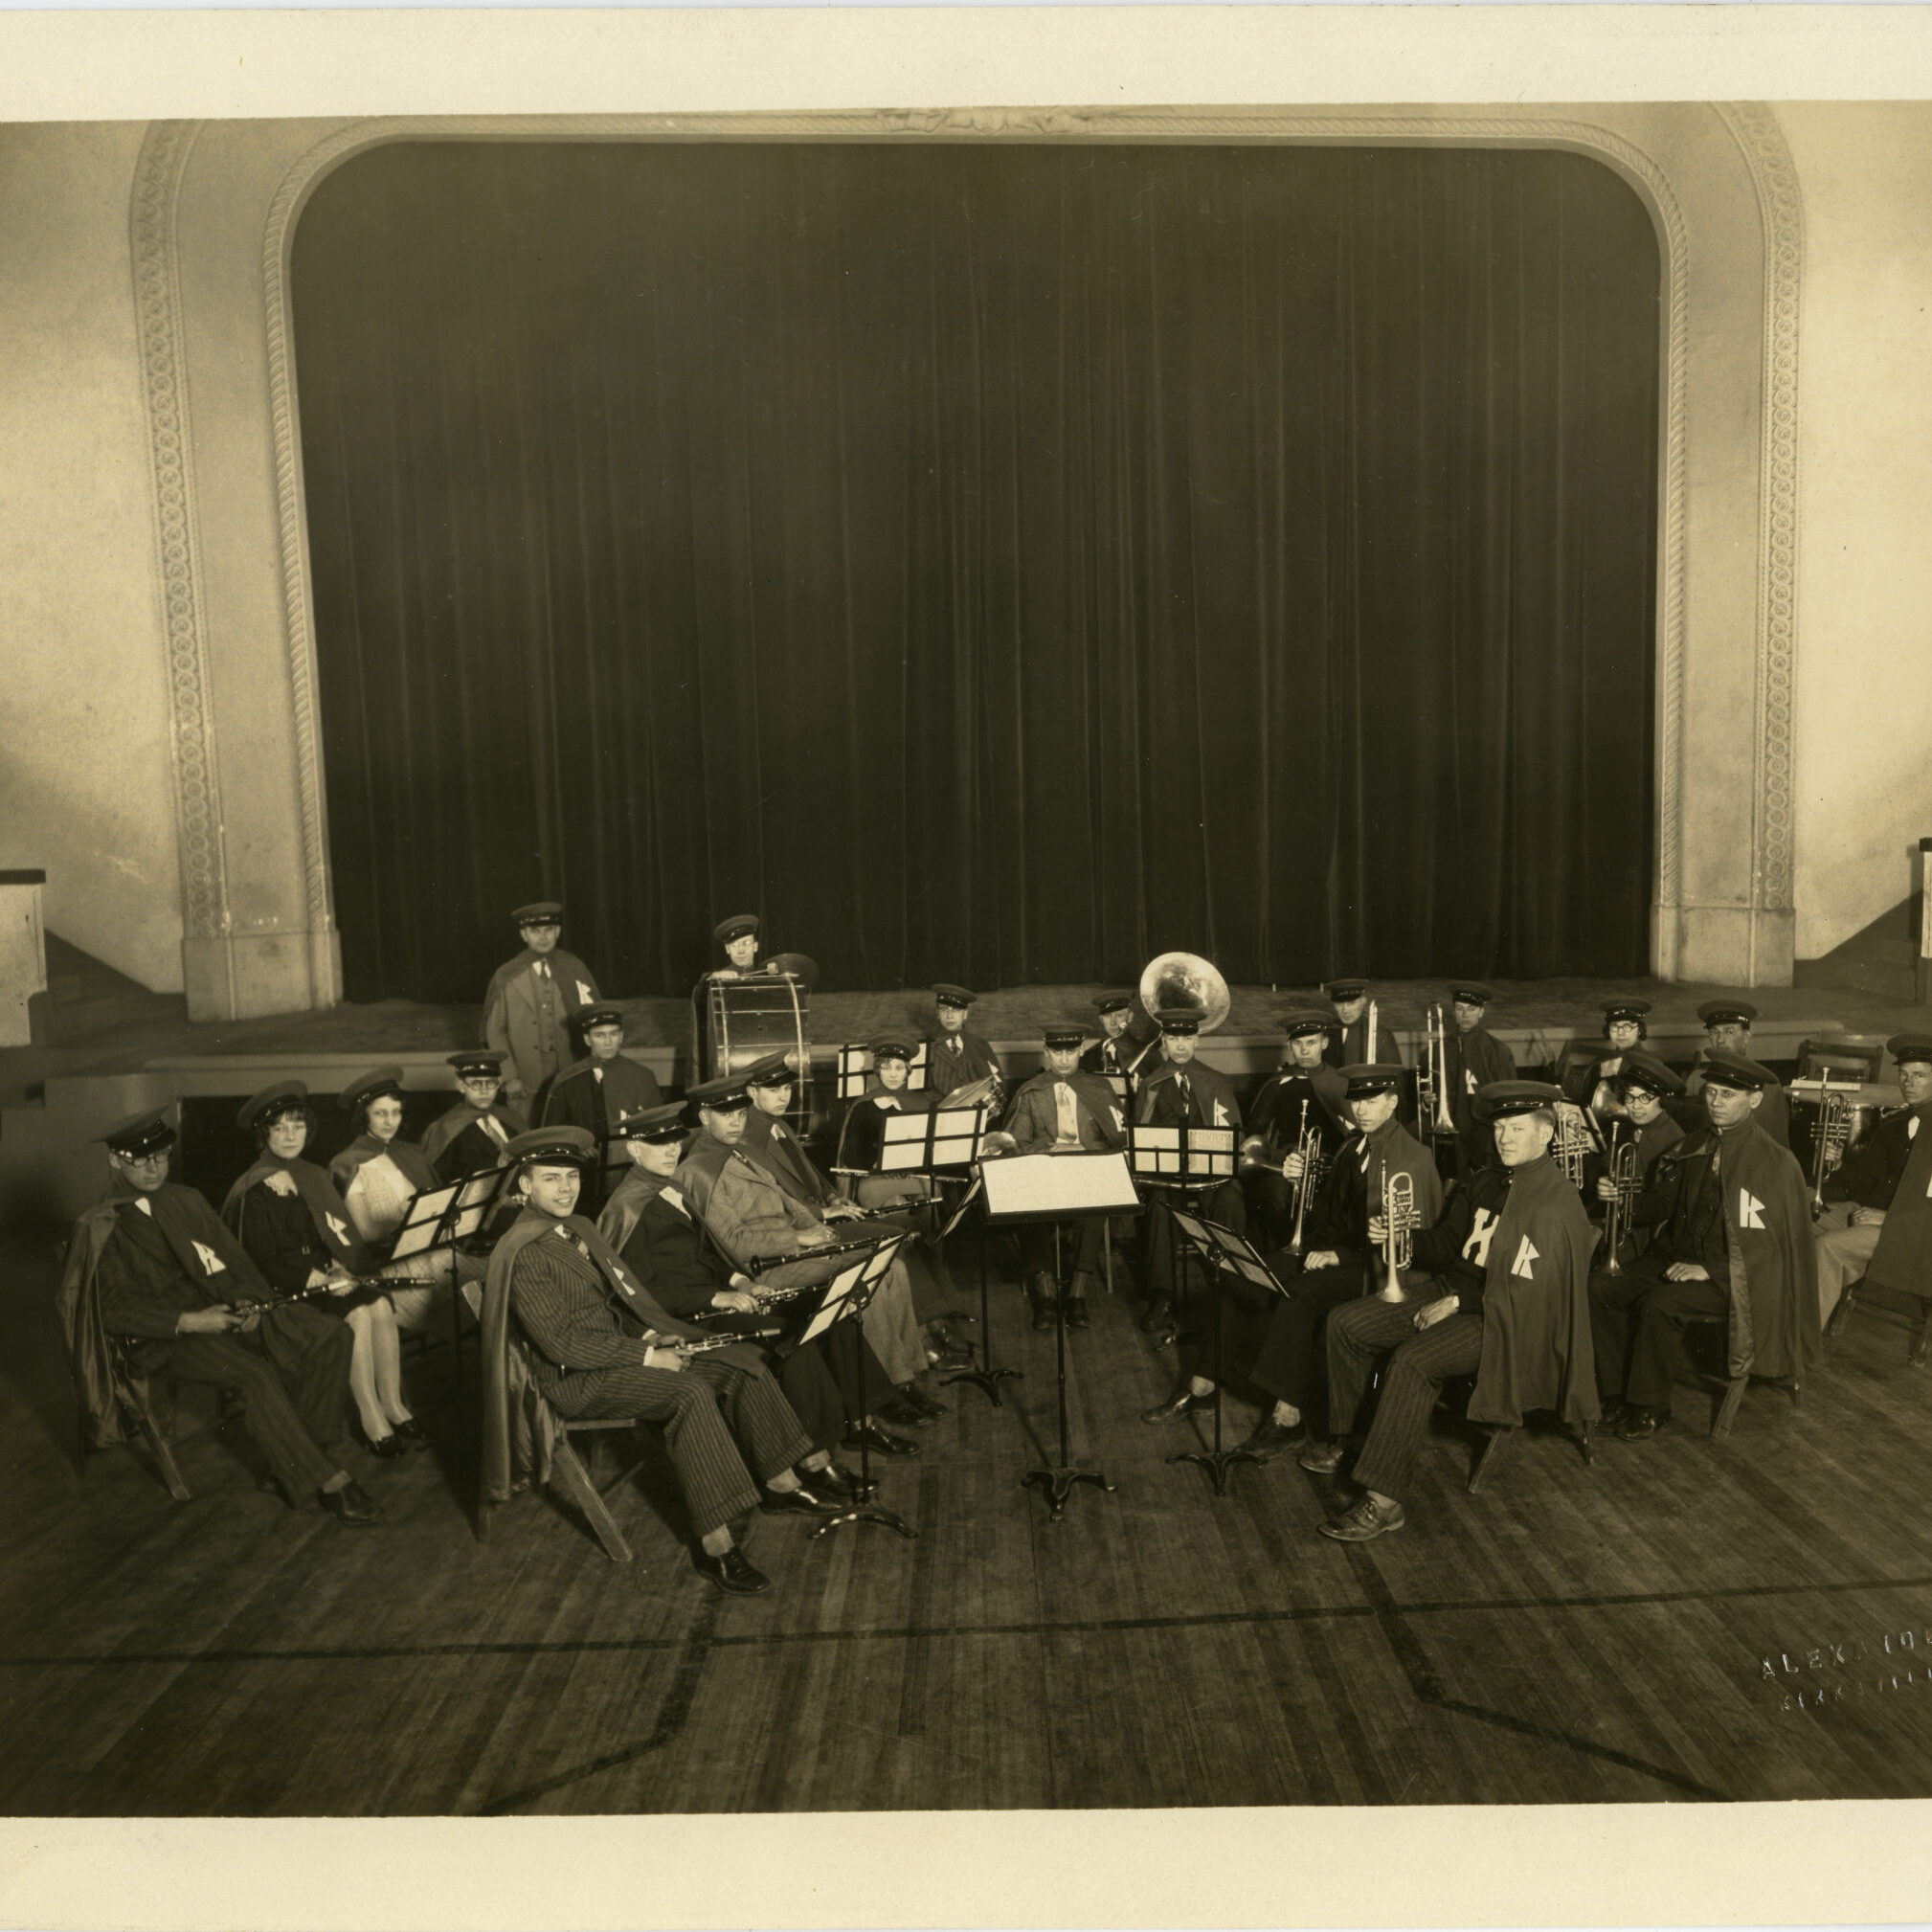
Photo 14
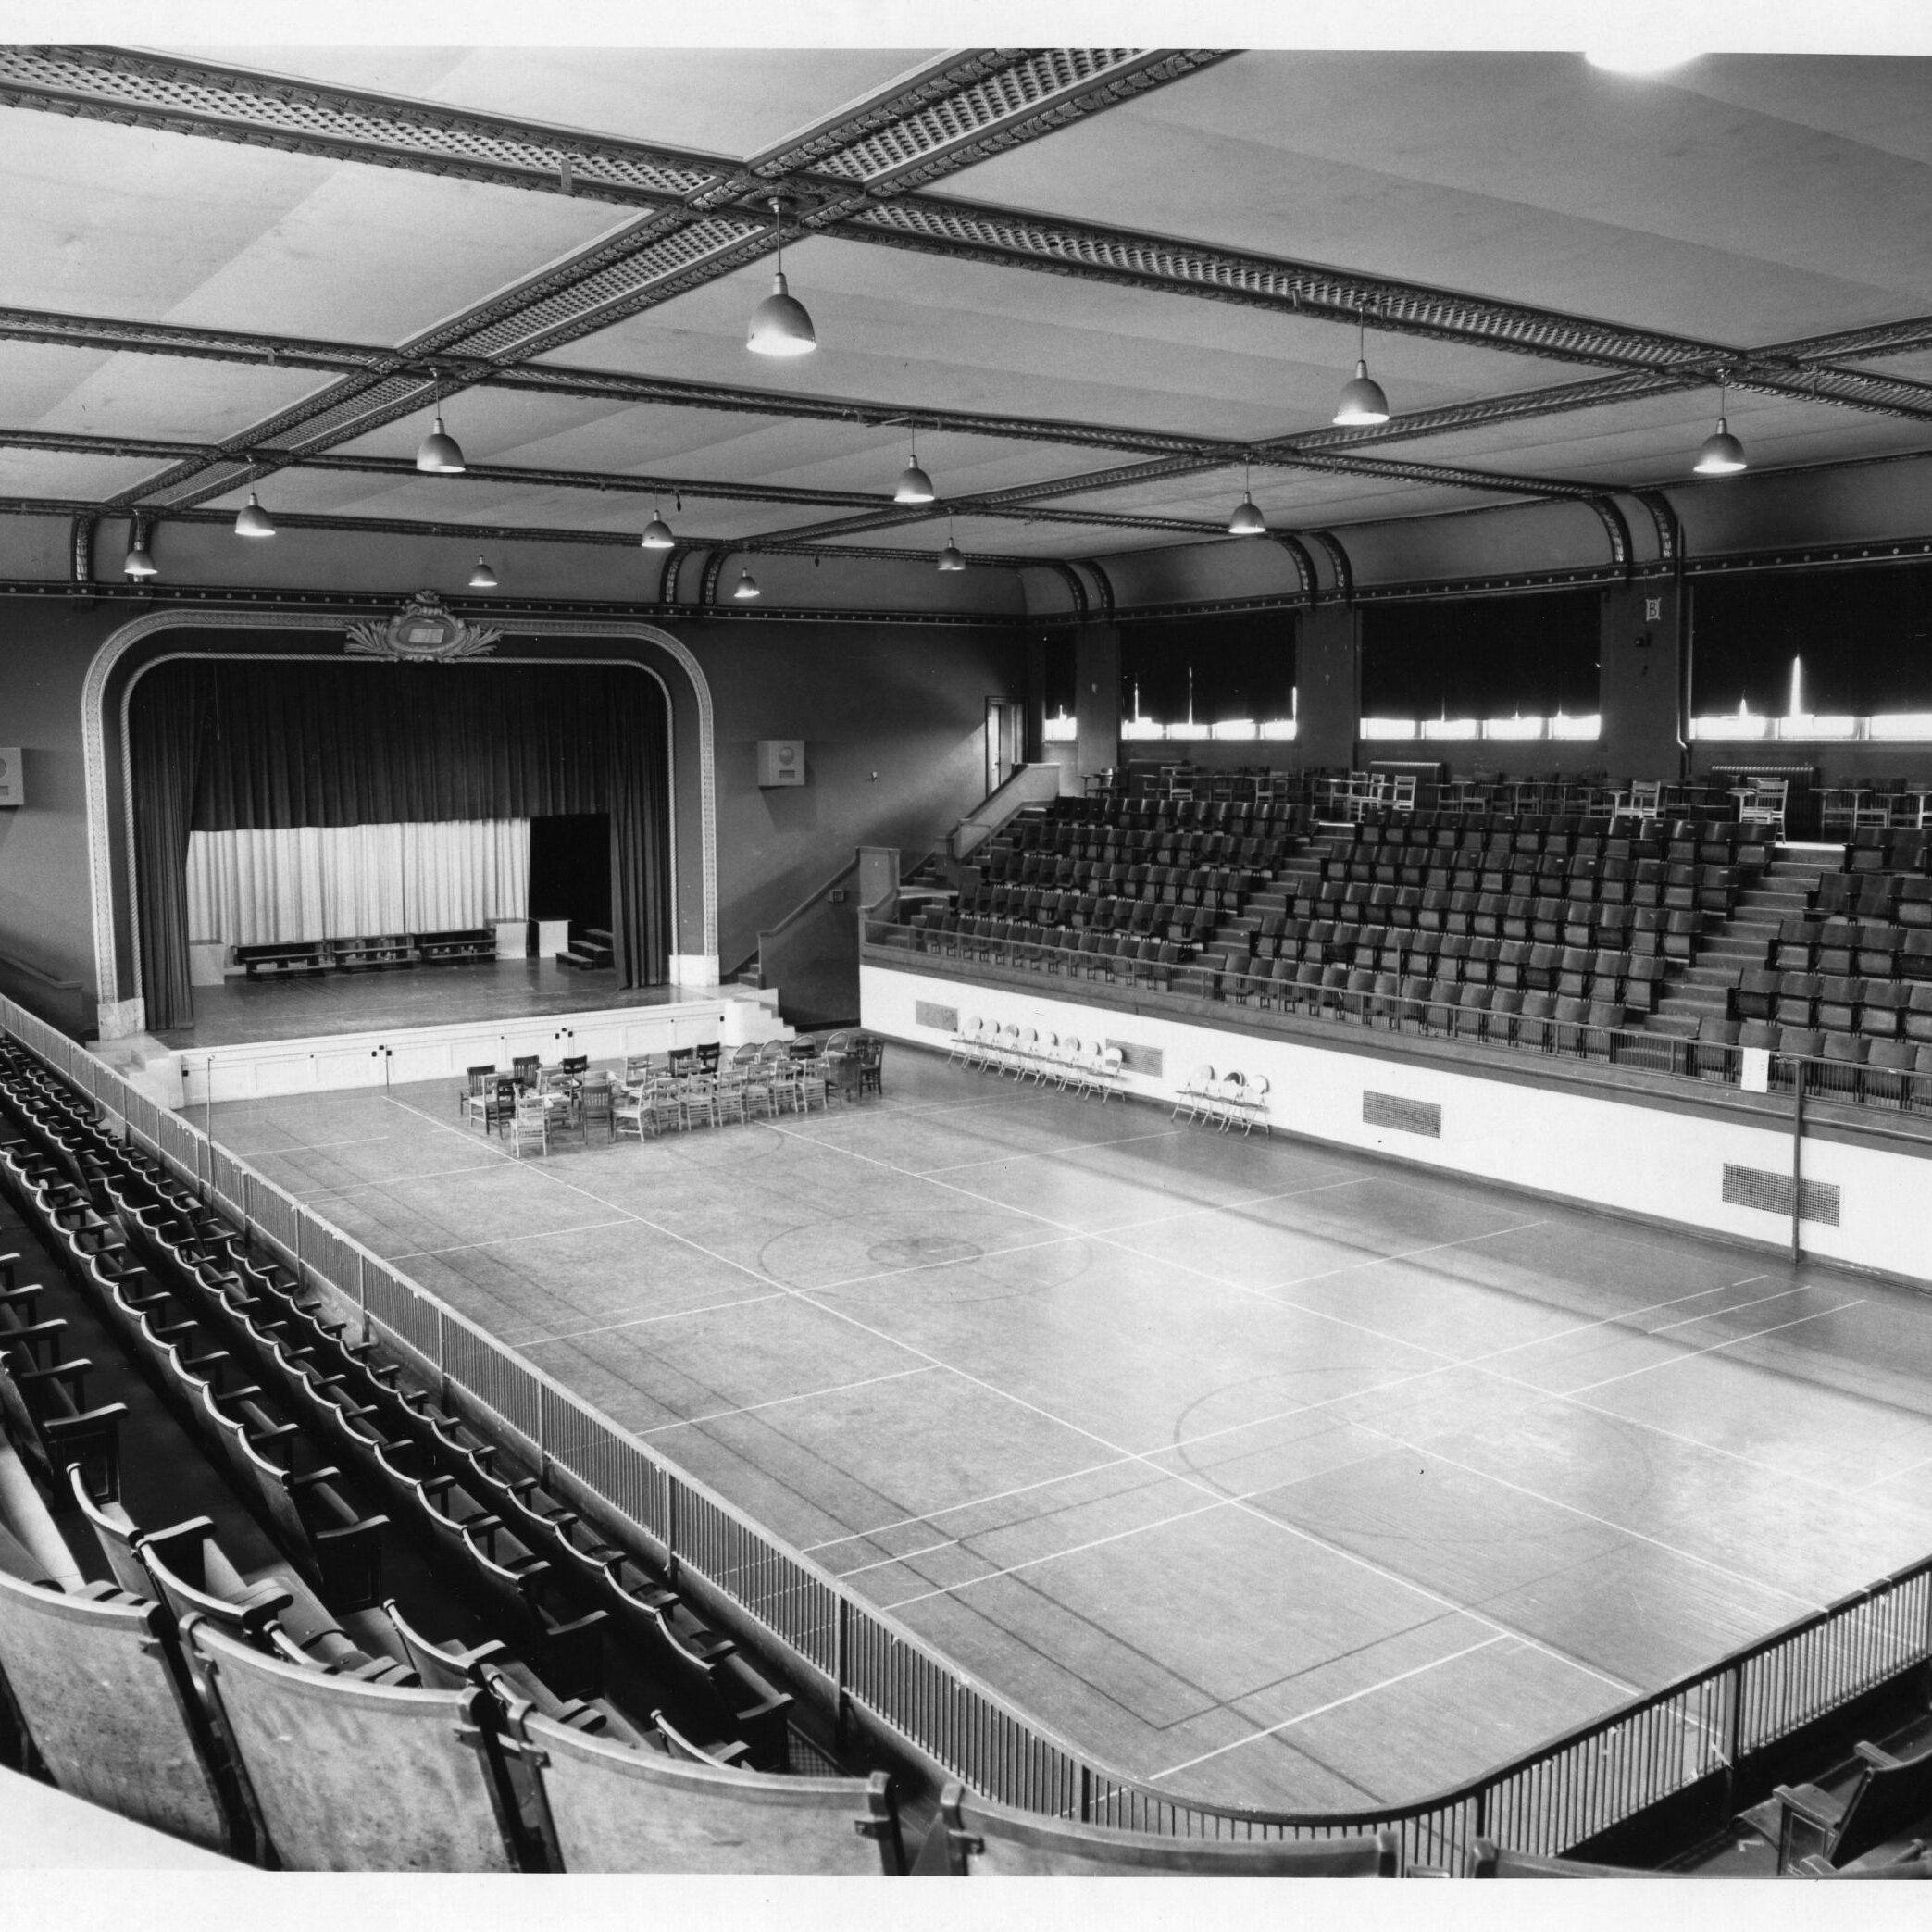
Photo 15